
Setting Up A Minecraft Server
This post is slightly different. Its new. I searched the internet for hours, looking for this information while I worked on my own projects. Here, I’m compiling numerous sources of information into the truth. After hosting numerous servers, on numerous devices, with numerous OS, and plenty of issues and difficulties, I finally decided on a secure efficient way to set up a server and get going.
To start you’re going to want to start with a computer. I recommend simply using Windows. After experimenting with Linux and Raspberry PI, Windows 10 is honestly the easiest way to go, even for the worst computers. I also recommend not running the server on your home pc, unless you want to keep your computer constantly running for a dedicated server. Considering the specs of the pc? Minecraft, and a few other sources tell you that you need 1GB of ram (memory) for every 20 players on your server. Yeah that’s some bullshit. After running numerous servers with far more than 20 players and 4GB of ram, I can easily tell you that your server will lag like hell. For the average server I recommend at least 8GB of ram, 16GB if you’re planning to run Plugins, and 32GB if you want to run mods. Now these are my personal opinions based on my previous server experience and this is what has worked best for me. Now if you plan to run multiple servers on one pc, don’t dedicate all your ram to one server, but make sure you have enough to run each one. For the CPU, a regular server doesn’t need more than one core, but for any plugins or mods, I would recommend a multicore processor.
So, once you’ve got a good pc, the process is quite simple and is mostly just making files. So first you’ll need to grab a server.jar file.
For Vanilla: https://www.minecraft.net/en-us/download/server
For Spigot(My favorite plugin manager):https://getbukkit.org/download/spigot
For Forge(A modded server):https://files.minecraftforge.net/net/minecraftforge/forge/ (download an installer)
For the Spigot and Vanilla Servers
So, once you have a server.jar file (it may not be named “server.jar”), you’ll probably want to create a folder on your desktop. Name this folder whatever you want, you’ll be able to change it or move it after this is done. Move the .jar file into that folder. So first, run the .jar file and if it isn’t already, rename it to “server.jar”, this makes it easier later when we want to run it from a .bat file.
For the Modded Server
You will run the installer you downloaded from Forge. It should open its own installer. You’ll select server and then set your destination to the folder on your desktop. This should add two files to the folder one being a regular Minecraft server.jar and the other a forge one. Change the name of the forge one to “server.jar” and then run it.
So this is gonna start downloading a bunch of stuff into the folder. What you want to focus on is the eula.txt file. You want to open that txt file and change:
eula=false;
to
eula=true;
Now save and close that file and create a new .txt file in the folder. The easiest way to do this is to right click, go to new, and then Text Document. In this document is when your ram amounts come into play. In this document type (or copy paste):
java -Xmx1G -jar server.jar nogui
PAUSE
Explanation: The “-Xmx1G” represents the maximum amount of ram the computer is allowed to dedicate to the server. Set this value to the maximum amount of ram you are willing to dedicate. The “server.jar” is the name of the .jar file that runs the server. “nogui” means that the server will open in a command prompt window, rather than Minecraft’s custom GUI which wastes resources. The “PAUSE” means that after the server stops or crashes, the command prompt window wont close immediately which allows you to review crash reasons or check general console information.
Once you’ve finished this file, go to save as and save the file as a .bat. You do this by selecting the drop down for “save as type” and then selecting “all files”. You can then type your ending “.bat” after the name of your file. If you please, you can erase the regular txt file when you see the .bat file in the folder. To edit the .bat file at any time, you can easily right click on the file and hit edit.
Now, you can run this .bat file and many more folders will open, as well as a command prompt window. Now if you haven’t used command prompt, don’t worry, Grandma, this isn’t some virus code to blow up your computer, as much as I’d like to make one of those. This window works as your console so you’ll be able to send server commands and view chat through this portal. So at this point, you’ve got a server set up. But there are some configurations you’ll want to make.
The server.properties file is one of vital importance. This holds tons of information that you can scroll through which will effect your gameplay and mechanics. Most of the information is straight forward and unless your looking for something specific, the lines you don’t understand, you won’t need.
On a modded server, you have a mods folder where you place all of your mod .jars, and similarly for Spigot servers you have a plugins folder for your plugin .jars.
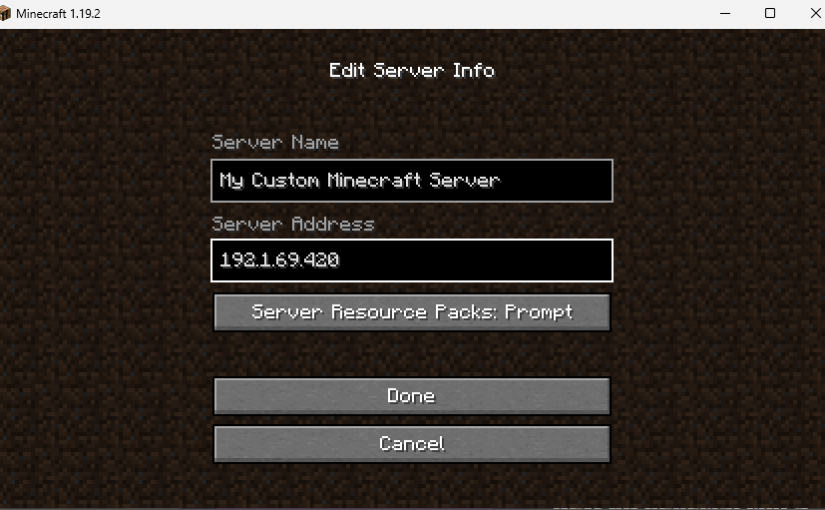
One thing you may notice, is that with this server only people on your internet will be able to join. To solve this, you’ll want to port forward the port 25565, or the port that you set your server to. To port forward I have linked this useful site, https://www.noip.com/support/knowledgebase/general-port-forwarding-guide/ the subject isnt incredibly complicated, it just would have made this tutorial way too long due to the specifications for each router or internet company.
So there you go. A server for Minecraft where you can play with your homies and build, survive and craft. Have a blast.
If you have any questions, just comment down below and I’ll try my best to help.
Thank you for this post. Very helpful.
Of course! Glad I could help!