Custom VPN Tunnel

School WIFI sucks. We all know that. They block the fun websites and restrict all kinds of stuff. So I took matters into my own hands and allowed myself unrestricted internet through a VPN.
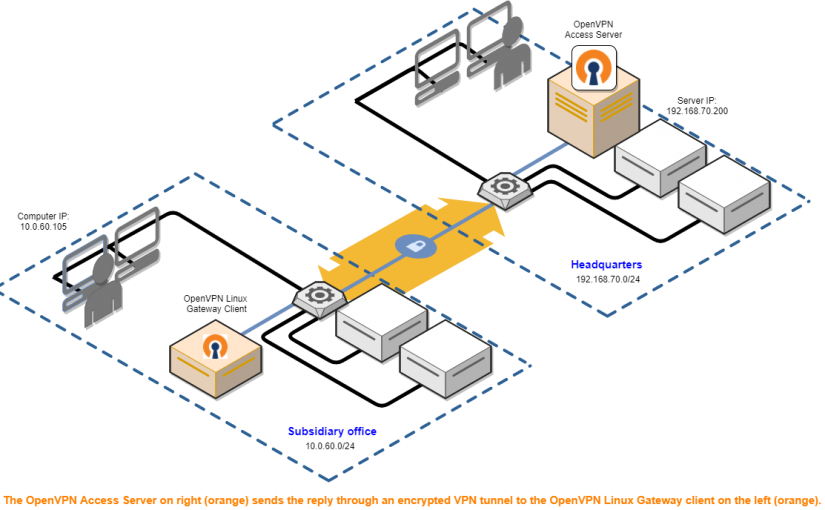
A VPN, or Virtual Private Network, is essentially a tunnel from the network you are currently connected to, to another network far away. In this case, I’m connected to the network at school, but I’d like to use the unrestricted network I have at home.
This is probably one of the easiest projects I’ve ever had to work with, as the only thing required is a Raspberry Pi. This project could be done with any other computer, but for this project I found that the best software worked with the Pi. I also happened to come into quite a few Pis recently so many more of my projects will be running on them. However, this project requires no programming experience, only a knowledge of networks and ports which I will do my best to explain.
Step 1
Image your Pi. Get it all set up and running on the latest updates and such.
Step 2
Open terminal on your Pi and run the following command:
curl -L https://install.pivpn.io | bashThis will install a software called PiVPN.
Step 3
Now we follow through the install wizard
One of the first things it asks for is a static IP address. IP addresses are numbers assigned to computers on every network. We have public IPs used by computer outside of our network, and private IPs that are accessible to any computer on a network. In this case, we want a static IP which is gained through a DHCP Reservation on your router. To set this up I recommend checking out this site. So when the menu prompts for a static IP or a Reserved IP, select the one you have set up.
Next, you’ll choose a user, the default Pi is fine. Then you’ll select a VPN protocol. For this I chose OpenVPN, its been around a lot longer and works with more configurations. However I have heard that WireGuard is newer, faster, and more secure. To be honest I noticed few differences.
You can choose whatever DNS service provider you’d like, it honestly doesn’t really matter. You’ll want to choose yes when it lets you change the OpenVPN features. This will let you select TCP instead of UDP and choose your IP address instead of a URL. Now a very important thing one needs to consider is the port.
Step 4
So ports are important for networking. Your router has many ports that allow traffic to flow in and out. So one of the main ways the school restricts networks is by blocking ports. This stops many softwares from being able to connect with their own servers, and thus making them unusable. Now, I wont reveal the port I’m using on my VPN, in the case that they read this and block me out. That would be very upsetting. But for any other network the default port works fine.
Step 5
Now you’ll want to reboot your pi. After finishing the wizard, it will reboot itself.
Now once the Pi is rebooted, you’ll want to reopen the terminal window and run the following command:
pivpn addThis command adds a VPN configuration, which you’ll want to make one for each device you have connect to this VPN.
Now you’ll name this configuration, and create a password. And choose the number of days that the certificate lasts, the default is probably fine. Now, a file will be created under /home/pi/ovpns the file will be of the .ovpn filetype.
Step 6
To connect to this VPN. Finally, you’ll want to transfer your .ovpn file to the device you want to connect with, emailing yourself is probably the easiest way for your phone or laptop. On the device you want to connect with install the Open VPN Connect app and then create a configuration with the .ovpn file.
Summary
Now, you have set up a nice network, to get past restricted networks. However this isn’t only used for watching Netflix at school. A VPN allows for more secure traffic or changing where you seem to be located.
